
Fortress Merge Merge Planner
A mid-fight card: merge, keep, or sell — then take the XP.
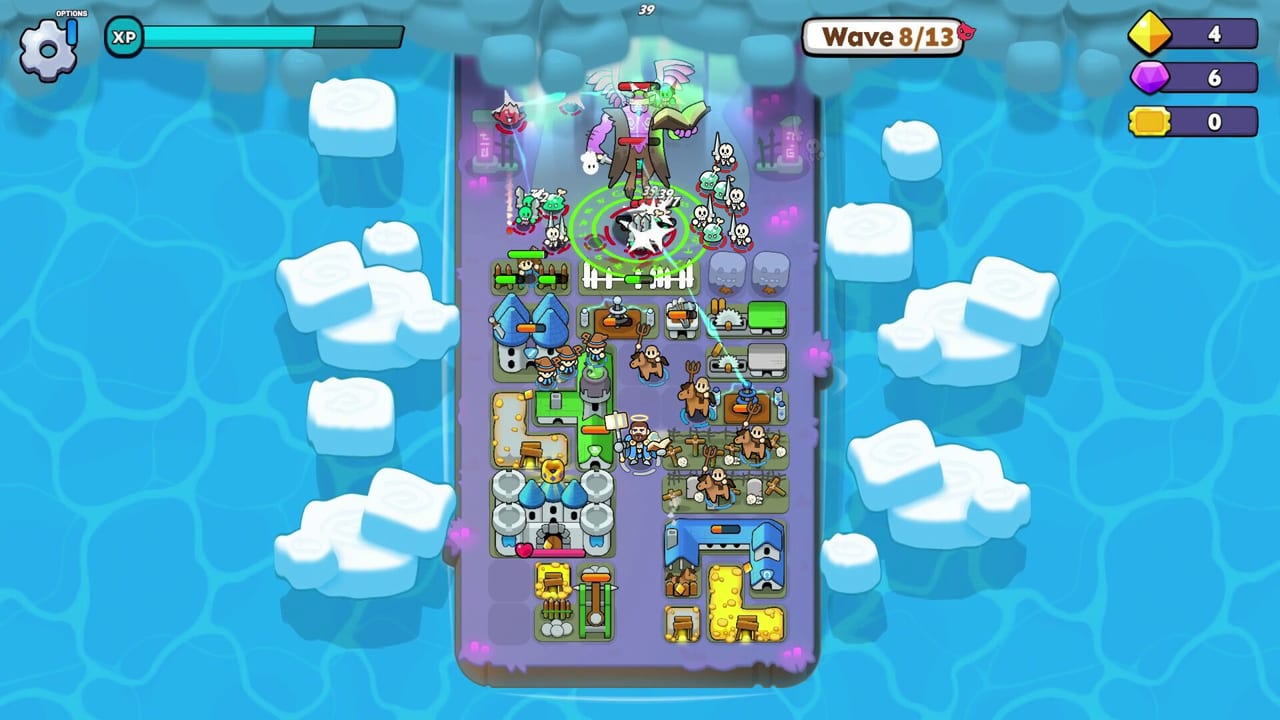
Use this page as a checklist, not as a spreadsheet. Fortress Merge does not publish a public damage formula, and we will not fake one. The questions below are the same ones in when to merge, compressed so you can glance between waves.
XP from merges fills the skill draft. That is a reason to merge walls even when you are greedy for camps: you get the level without shrinking the army. The embedded video covers that XP bar; this list covers the tile.
Step 1 — do I have space?
- Two or more empty tiles: you may keep extras. Reroll is legal if the shop is all dead roles (gold).
- Zero empty tiles: sell or merge before you roll. A paid card you cannot place is a waste.
- Trees on the lane: pay to clear those before any vanity merge.
Step 2 — what is the pair?
| Pair | Action | Why |
|---|---|---|
| Barricades | Merge | HP stacks; frees a tile for damage |
| Gold mines (behind a wall) | Merge | Payout scales; hide the result |
| Gold mines (on the lane) | Do not merge; sell or move | A fat piñata is worse |
| Banner / flag | Merge into one | Aura does not stack |
| Tesla / turret with stall | Merge if angles already covered | Damage and cooldown |
| Tesla with no wall | Keep two angles | Coverage beats a pretty rank |
| Barracks / ranch / archer / mage | Keep extras | More spawners, more cap |
| Same camps and you need a tile | Merge | Space for a missing wall |
| Supply crate | Keep one touching DPS | Neighbor cooldown |
| Third unique aura | Sell | Dead tile |
Step 3 — is a boss next?
If the HUD says the last wave, run the boss conversion: sell doomed mines, extra banners, off-plan camps. Merge remaining walls. Do not merge your last two mage towers into one if they cover two sides of a wide slam.
Step 4 — take the XP on purpose
A merge that only exists to fill the XP bar should still be a wall or mine. Do not collapse the army for a skill you might skip. When the draft appears, prefer cooldown and building HP. Gem-reroll only on a boss draft full of junk. That is the whole “planner” for XP.
Step 5 — Fight
If you are still staring, press Fight. A correct-enough board now beats a perfect board after the castle is already leaking. Retry is free. Getting started reminds you that dead buildings come back; only the castle does not.
Worked example
Shop shows a 1-star wall, a 1-star wall, and a ranch. You already have one ranch and no wood. Merge the walls. Keep the extra ranch only if you have a spare tile after the merge; otherwise sell the new ranch and Fight. You just bought stall and kept population. That is a “win” even if no XP bar moved.
Shop shows three mines on wave 9 of a 10-wave map. Sell or skip. You are three minutes from a slam. Economy that will die is not economy.
Shop shows two mage towers you already placed as 1-stars, plus a Tesla. The lane already has a wall. Keep both mages unmerged, place the Tesla in the stall. XP can wait for the next wall pair.
If this example feels obvious, you do not need the table. If it does not, keep this tab open for a week of campaign maps.
Related pages
- When to merge — the long version.
- Buildings tier list — which pair was even worth finding.
- Controls — how to drag the pair.
- Tools hub
Frequently Asked Questions
Quick answers to the most common questions.
Is this an official calculator?
No. It is a keep-merge-sell checklist plus the XP rule. Trust the HUD for live numbers.
Should I merge to farm XP on wave 1?
Only walls and mines. Extra camps are worth more than a premature skill.
What if I cannot decide?
Keep the extra camp, merge the wall, press Fight.