
Fortress Merge Buildings Tier List
Which structures deserve a tile — and which ones you sell before Fight.
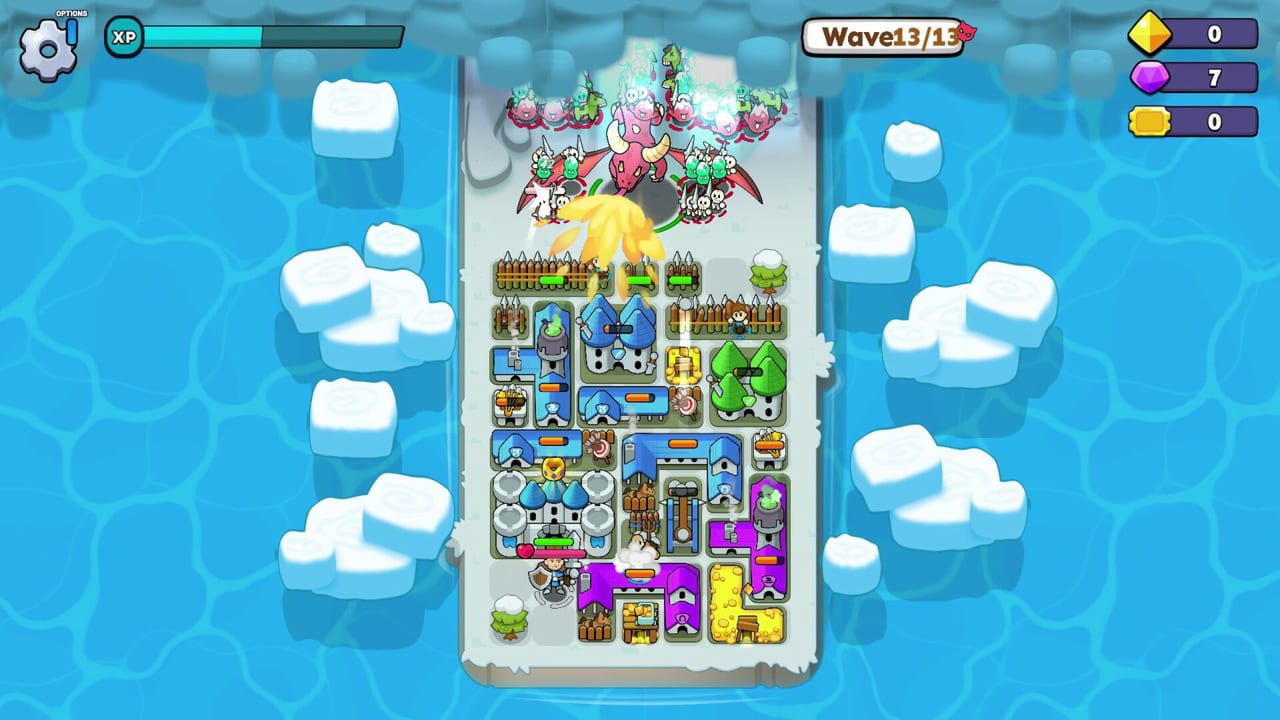
This is the structure ranking for Fortress Merge. Units have their own page. Heroes have their own hub. If you only remember three lines: walls are S, unprotected mines are Skip, one banner is enough. Place them with the placement guide or the rank is lying to you.
S tier — take these
Barricades / walls. They convert a walking pack into a shooting gallery. Merge them freely; HP is the stat. Thorns make melee bosses pay rent. A map with no wood is a map you retry.
Tesla / turret (once a wall exists). Point damage into the stall. Merge when the front is already honest. Two covering different angles beat one over-merged tower that enemies walk around.
Gold mine (protected). Pays the rerolls that find the next wall. Merge when it sits behind stall. Sell on boss prep if it will die anyway.
A tier — strong with a plan
Catapult / trebuchet. Area damage onto a clump. Needs a wall. Weak if the pack never stops moving.
Mage tower. Back-row artillery. Keep it off the entrance. Two mid towers often beat one max merge — when to merge.
Archer camp. Safer back-line spawner than a ranch on a leaky lane. Pair with a wall so they are not tanking.
Barracks. Front-line knights that buy time. Do not merge the first pair unless you need the square.
B tier — fillers
Ranch (horsemen). Fast bodies, greedy on space. Great when you already have stall; messy as your only camp.
Graveyard. Later-game spice (exploding dead). Not a wave-1 plan. Take it when the board already works.
Training camp / extra unit buildings from later mobile patches. Treat as barracks-likes until you see the spawn rate.
C tier — one copy
Banner / flag. Cuts reroll cost. Does not stack. Merge extras, never place three.
Supply crate. Shortens neighbor cooldowns. Must touch the buildings you care about. A crate in the water is a dead tile.
Thunder Totem / Token Bank (mobile extras). Fun, not a missing wall. Promote them only after they save a run.
Skip — sell or refuse
- A third banner.
- A mine on the spawn pixel.
- A mage tower on the front row “just to place something.”
- A duplicate unique aura when the lane is leaking.
The shop will offer Skip cards. That is what gold rerolls are for — if you still have space. If you do not, Fight with the B-tier camp and live.
Castle (not ranked)
The castle is not a shop card. You cannot merge it. You cannot sell it. You can drag it. If it is on the lane, the rest of this list does not matter. Move it, then rank the shop.
Boss-wave delta
On wave 10, walls and Teslas go up, mines go down, banners go to “already have one.” Catapults go up if adds clump. Ranches go down if the boss slams melee camps. Rebuild using the boss guide, not this S-tier as a religion.
Shop examples
Three cards: wall, mine, banner. You have no wall. Take the wall. The mine waits. The banner waits.
Three cards: Tesla, Tesla, ranch. You have a wall. Take one Tesla, keep the second if you have an angle, skip the ranch if horsemen already exist.
Three cards: mage, mage, graveyard. Back row is empty. Take both mages, skip the graveyard. You can find flavour later.
These snaps are the tier list in motion. If you memorize letters without snapping, you will still leak. Pair every S pick with a tile in the placement rows.
Related pages
Use units to decide which camp to keep when two A’s appear. Use heroes so you do not spend a tile on a hero that duplicates a job a turret already does. The guides hub is the how; this page is the what.
Frequently Asked Questions
Quick answers to the most common questions.
Why is the banner only C?
One copy is excellent. Extra copies do not stack, so they are sells, not a tier of their own.
Are mage towers S?
They are A because they die if you misplace them. Correct back-row mages play like S.
Where do new event buildings go?
Start them at C. Promote after they stall, shoot, or pay on a real wave.